Verona Saddle Bag sewing pattern
[ssba-buttons]
With this lovely sewing project, the designer’s goal was to create a bag that could be used every day, it would hold all of the essentials and leave our hands free. The usual thing but this time, the designer was after a bit more. She wanted it to have a bit of an edge too. So away with the mama bag and in with something that could be paired with Doc Martens.
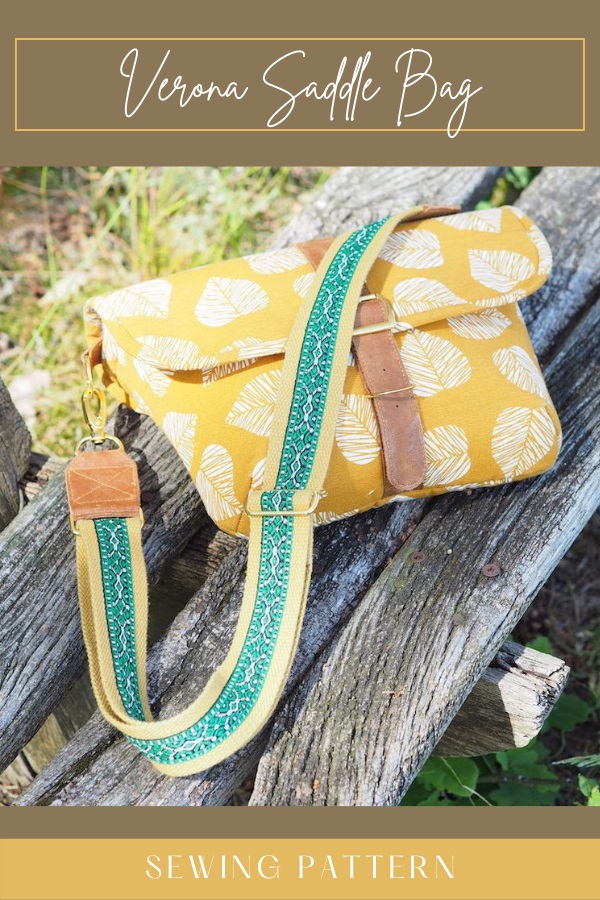
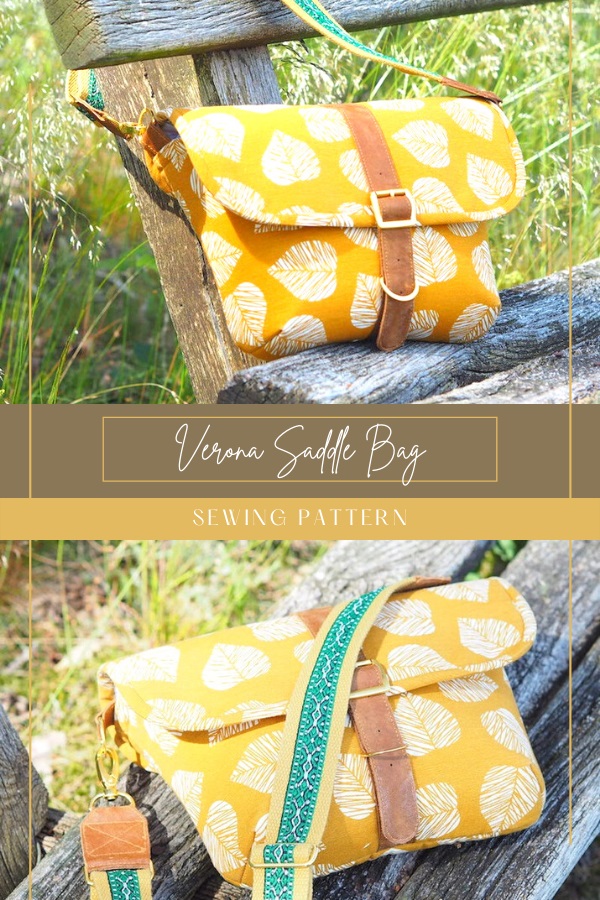
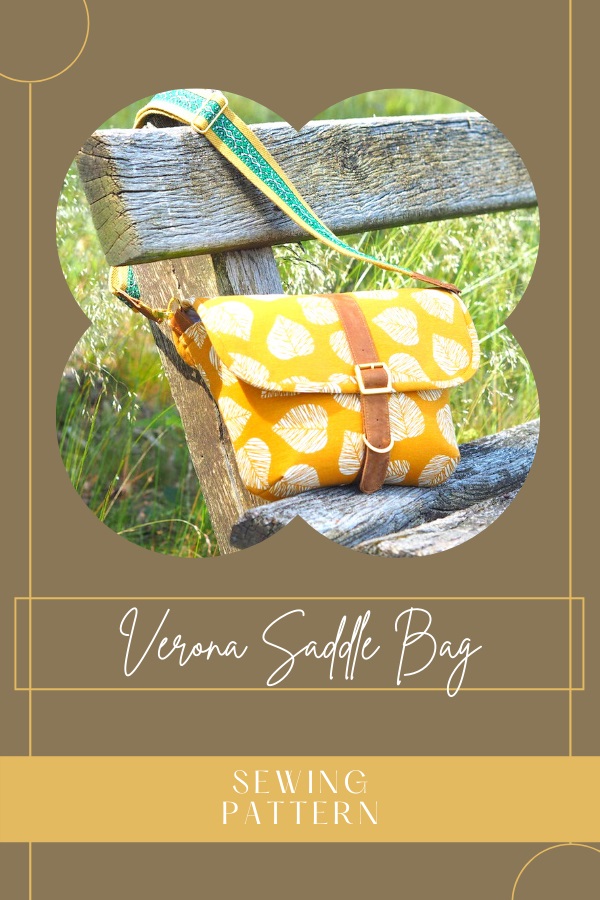
So the Verona Saddle Bag was born! The result is a generous but not huge bag and it has a guitar strap! The designer is super excited to show you how to make one of these! They are actually dead easy and the whole vibe lifts the bag to the Rock ‘n Roll stratosphere. There is some very easy shaping of the pattern pieces and there are step-by-step photos to make it child’s play. Don’t worry, you got this!
Recommended fabrics:
The designer recommends that you use any of the following fabrics – quilting weight cotton, denim, canvas, furnishing fabrics, linen, needlecord, waxed cotton, oilcloth.
Sizing info:
When you have finished making your very own Verona Saddle Bag it will measure approximately 12″ wide by 8″ tall by 2″ deep.
Skill level:
The designer rates her project as suitable for a confident intermediate sewer with some knowledge assumed.
What you will need to make a Verona Saddle Bag:-
- ¾ yard of canvas for the outer,
- ½ yard of cotton fabric for the lining,
- Interfacing: (all interfacing is from Vlieseline),
- ¾ yard of Style-vil foam interfacing,
- FQ H630 fusible wadding,
- FQ Decovil I Light fusible interfacing,
- One fat eighth of S320 fusible interfacing,
- 6” metal zipper for the rear zipper pocket,
- 6” plastic zipper for the inner zipper box pocket,
- 50” by 1 ½” wide webbing for the guitar strap,
- 52” decorative ribbon (preferably woven cotton) for the guitar strap,
- 6” wide by 14” long piece of leather or vegan leather for the front strap, the guitar strap tabs, and the side rectangle ring tabs,
- A 1” buckle,
- Three 1” D rings,
- One rivet,
- Two 1” swivel clips for the guitar strap,
- One 1 ½” rectangle ring for the guitar strap,
- One 1 ½” bag slider for the guitar strap,
- Pattern drafting paper, pencil, and scissors. Paper is optional, you could work straight onto the fabric but if you are new to this the designer would not advise it,
- Clear drying glue suitable for fabric,
- Coordinating threads for all fabrics and trims.
- Basic sewing supplies,
- A sewing machine.
This is a measure and cut pattern which means that you don’t have any templates (pattern pieces) to print off and match up- Yay! You need a rotary cutter, ruler, and cutting mat, and you can cut the pattern pieces straight from the fabric. This is easier than it sounds because the pieces are all simple squares and rectangles. You can transfer the cutting measurements to paper to create your own paper template/pattern piece if you prefer to use them.
Just to let you know, there is some simple shaping of the basic pattern pieces this time to make the rounded edges, but it is super easy and the designer has included lots of extra photos to lead you through step-by-step. This pattern contains 18 detailed pages of instruction and 18 clear photos PLUS blog links to give you even more information.
If you would like to download the pattern you can click on the blue button below.
And if you would like to see other bag sewing patterns from this designer then you can click on the red button below.


