Small Sewing Bag tutorial with flying pockets pattern

[ssba-buttons]
Here’s your chance to make a multi-compartment fold-out zipper storage bag that is going to store and organize all of your sewing, quilting or craft supplies – or whatever else you decide to carry in it.
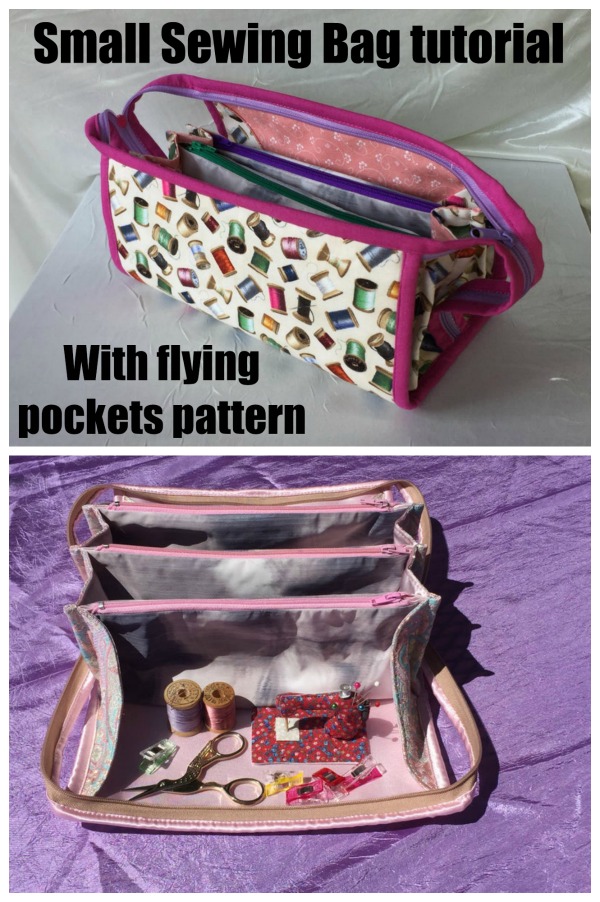
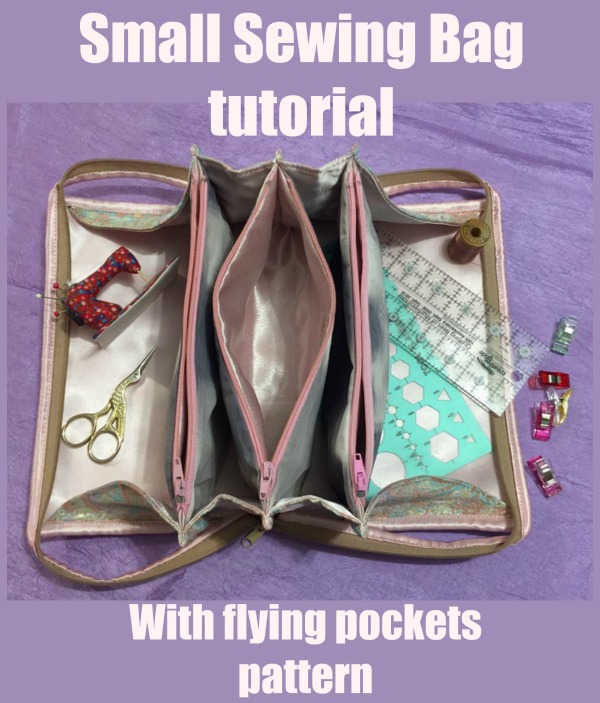
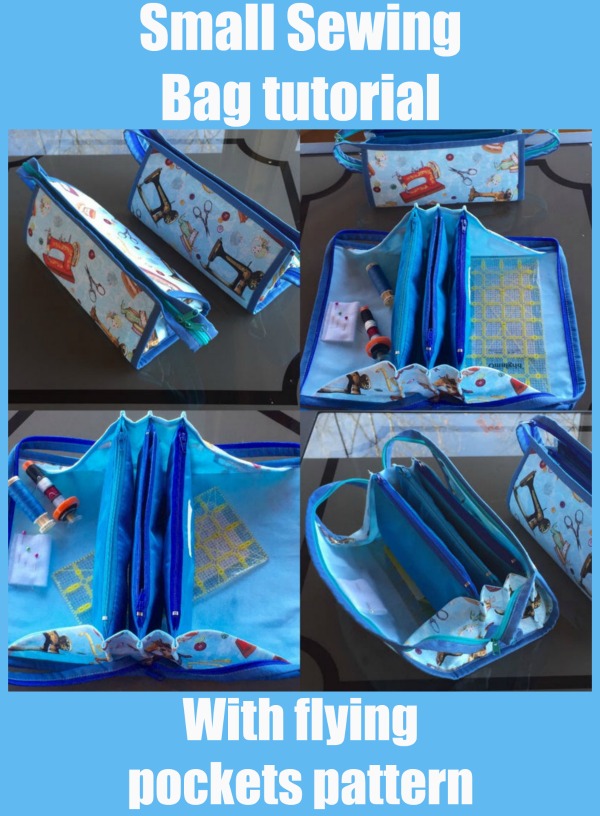
This very neat small sewing bag has three zippered pockets and a long top zipper with double pullers.
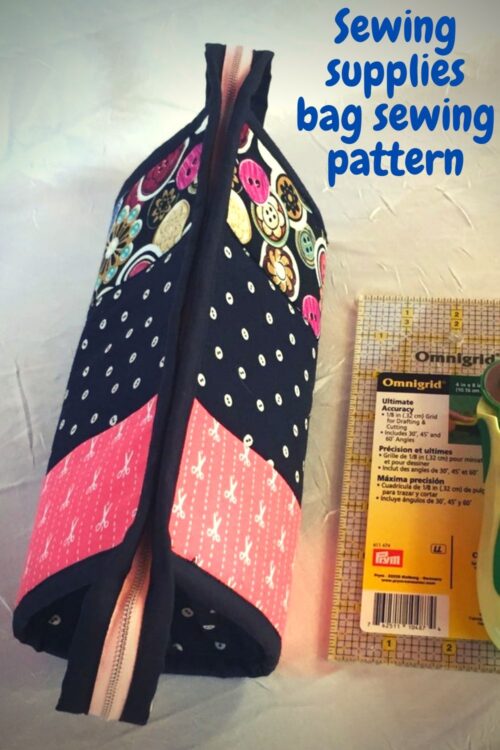
The long zipper allows the bag to open up completely so that the sides fall flat and there is easy access to everything inside. When closed, the long zipper creates little handles at each end for carrying or hanging your bag.

Quiltessa, the designer of this bag has designed it so that you can insert a 4″ by 8″ ruler under the pockets, which makes a very handy addition to this bag. Ideal for crafting and sewing on the move, it also creates an even more flat and sturdy base for the bag.

The designer has also given you the option to change up the typical lining inside. She has used an ironing pad with aluminized ironing board cover fabric inside. This allows you to use this bag when open flat for multiple small projects when a miniature iron is involved, i.e. paper piecing, fusible applique, freezer paper etc. or just for pressing small pieces and seams.

Once you have finished making your very own Small Sewing Bag it will measure approximately 9½” by 4½” by 4¼”.
Don’t be concerned that this pattern is only for advanced sewers. It’s a lot easier to make than it looks. If you can sew a regular zipper bag, then you are already most of the way there, and you can certainly tackle this pattern.
You can add this must-have pattern to your collection by clicking on the button below.


