How To Make A Bucket Bag Pattern + Video Tutorial
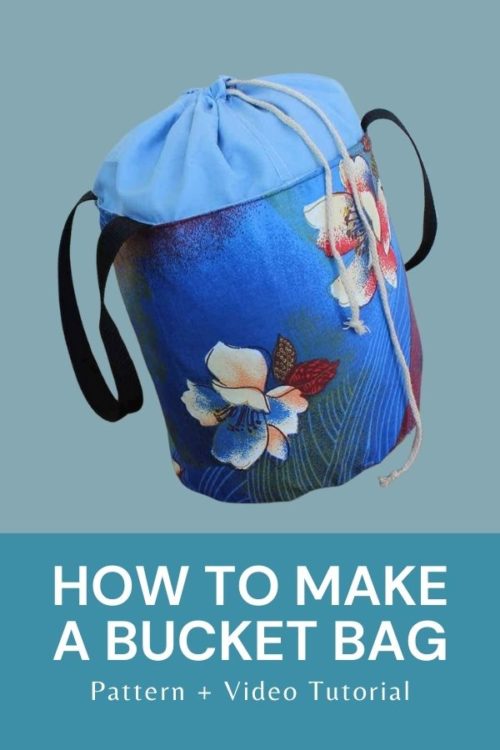
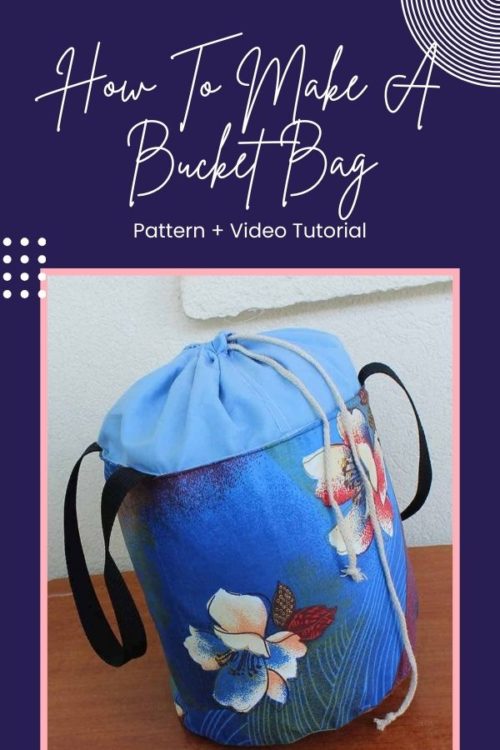
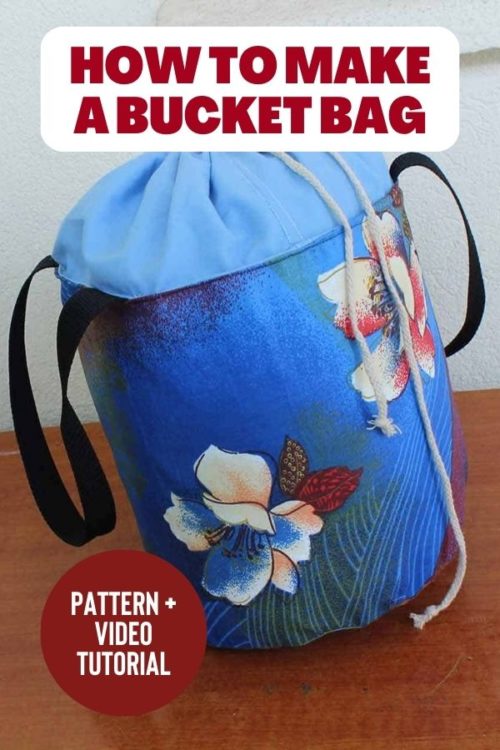
The bucket bag is a fun bag with a unique style that is large enough to carry all of your gym items or small enough to carry a few everyday pieces. The top of this bag features a drawstring closing so it is easy to get what you need in and out of this bag. The bag is also fully lined, making it easy to clean and use. The designer made the handles out of webbing, but you can also make your straps out of fabric, which is a perfect way to bust some fabric scraps.
Bucket bags with drawstring closures always remind me of chalk bags climbers use, this could be the perfect bag for a climber in your life.
What You’ll Need:
- 1 Yard of 44″ Wide Fabric for main bag
- 1 Yard of 44″ Wide Fabric for lining
- 1/4 Yard of 44″ Wide Fabric for closure
- 1/2 Yard of Interfacing
- 1 Yard of Webbing (optional)
- Cording for drawstrings
- Matching Thread
- Free Bucket Bag Pattern
- Iron
- Pins
- Scissors
- Optional Rotary Cutter & Mat
- Measuring tape
- Thread nippers
- Sewing machine
- Fabric marker
- Bodkin or Safety Pin
Printing Instructions
This bucket bag pattern has layers so you can print only the size you need. To achieve this Adobe Reader must be installed on your machine or device. Adobe Reader allows you to click on the layers icon which will show you each size with an eyeball beside it. Click on the eyeball beside the size you do not want to print.
Before printing check that your printer is set to No scaling or Actual size. Set the Page orientation to Auto or Portrait. And then print page 1. Measure the 2” test square to see if it measures exactly 2”. If it does, print the remaining pages.
Pattern Pieces Checklist
Once you have printed and assembled your pattern you will cut:
- Cut 1 Main, 1 Lining : Main Body, Base
- Straps – Cut 2
- Closure – Cut 2
Seam Allowance
Use a 3/8” seam allowance unless otherwise instructed.
Watch the video tutorial below:
To get this free pattern & tutorial click the purple button below:


