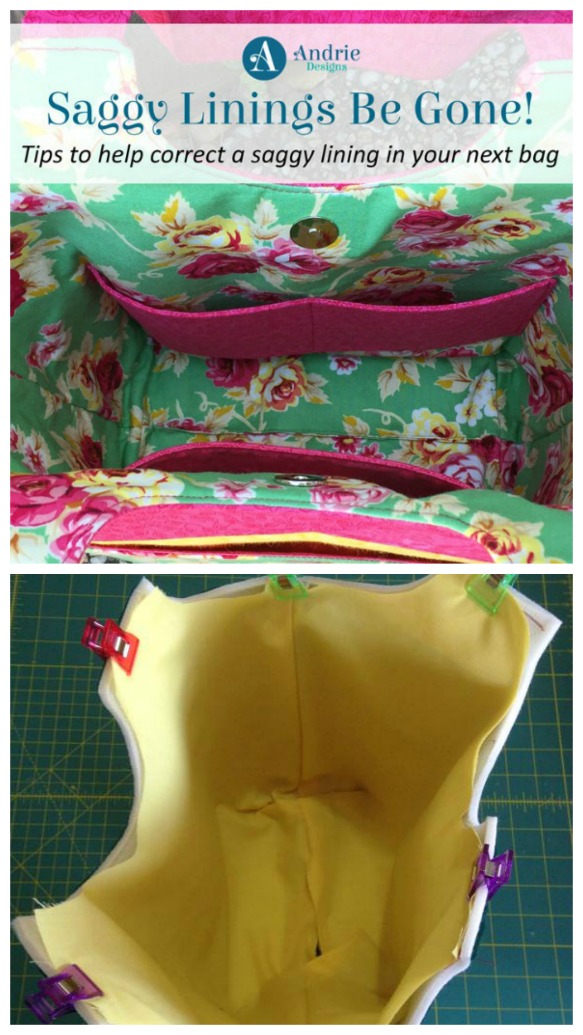
How to fix or avoid saggy bag linings – a free tutorial

It’s that time to be super happy, you’ve finished your bag, almost everything is done. The zippers are in, the pockets are just perfect for what you need, the handles and hardware look so pretty, and your favorite fabrics have pride of place in the design. Now, all that is left is to do is to turn the bag right side out and close the gap in the bottom of the lining or pocket.
Except wait a minute- what’s wrong here?! The lining seems huge – far too big for the bag and looks saggy, wrinkled, unattractive and has spoilt the whole finished look of your bag. Those pockets you had carefully sewn are all now sagging and hanging open. In short, it looks a mess. How annoying is that?
There are a number of reasons how and why this can happen, and it’s best to deal with this issue at a much earlier stage of construction than try to correct it at the end.
Please check out the tips and tricks, from Two Pretty Poppets, on how to avoid and fix baggy linings, so that you can make bag linings that you can be proud of.
Our extra tip – take note of the change in the side seams and repeat the same on the bottom seam of the bag lining too. Then your boxed corners should work perfectly and the base of the lining will also have the perfect fit.
Click here for the FREE tutorial
Liking this free pattern? Great! You would make our day if you ‘bought us a coffee’ to help with the site running costs. Thank you.


