Clutch Me Tight Handbag sewing pattern

[ssba-buttons]
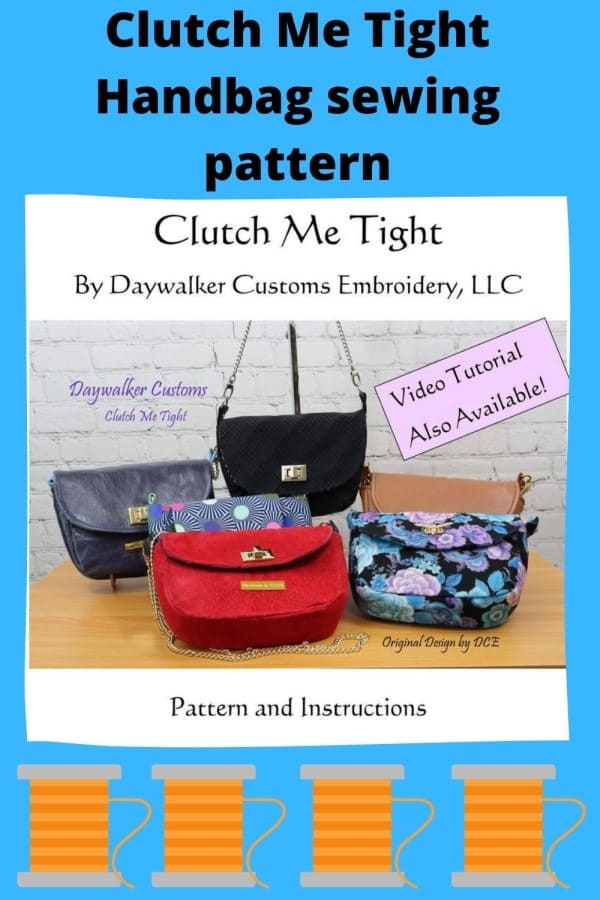
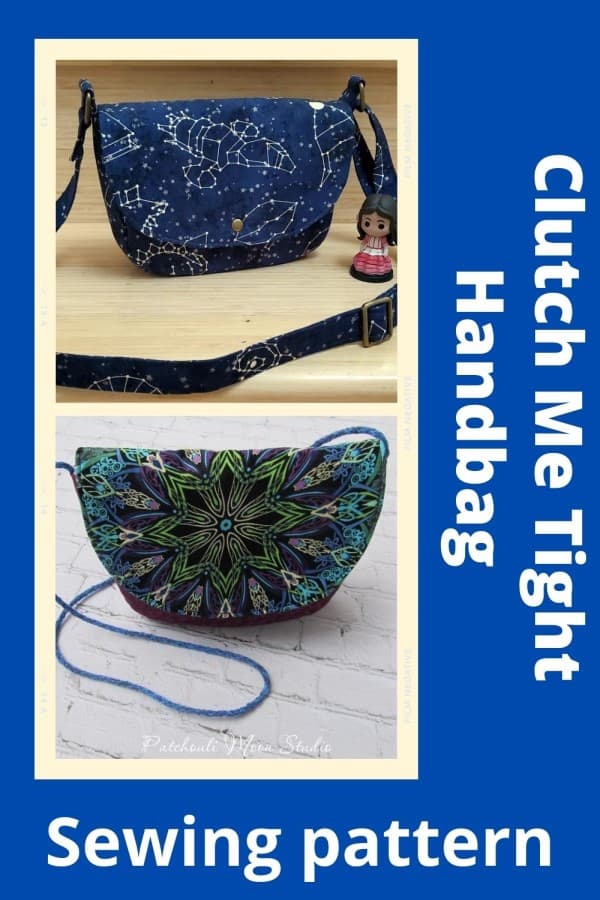
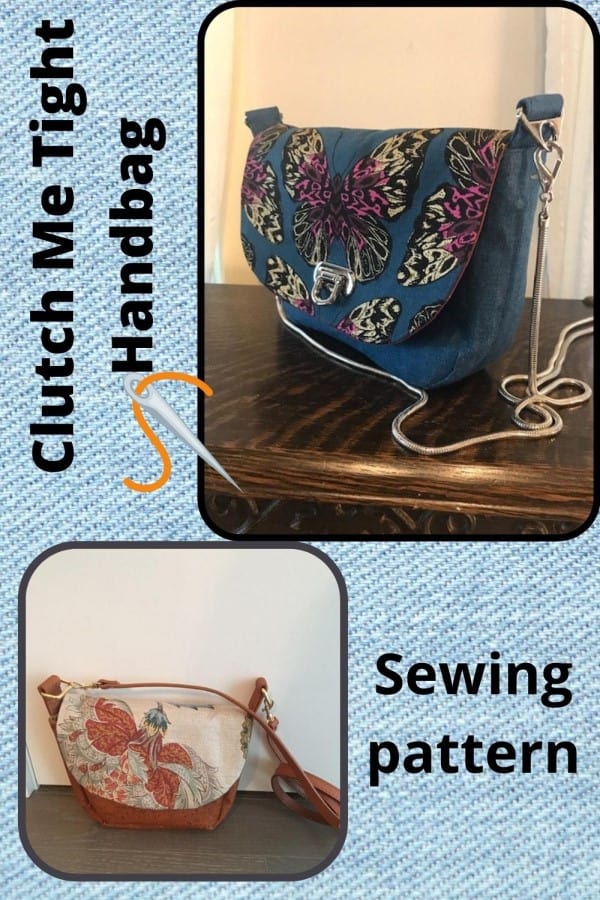
The Clutch Me Tight is an awesome little bag with a surprising amount of storage space, and two handy pockets inside.
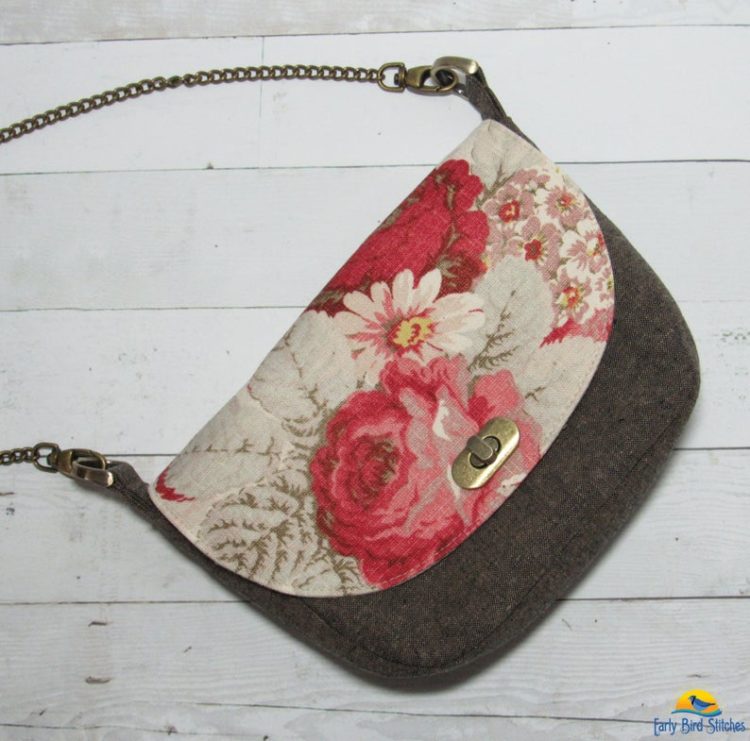
The flap area of the Clutch Me Tight is just large enough to feature a designer fabric or embroidery design both outside and inside if desired.
You can opt for the chain shoulder strap or make your own strap.
It’s a great bag if you just need to carry a few things as well as a great evening bag for that night on the town.

Sizing info:
When you have finished making yourself a Clutch Me Tight Handbag it will measure approximately 8″ wide by 6 1/4″ tall by 2″ deep.
As far as which fabrics you should choose to make this handbag the designer says that it can be made in a couple of variations. You can use all fabric, or, use cork/vinyl/faux leather/leather for the exterior with a cotton lining.

What you will need to make a Clutch Me Tight Handbag:-
- 1/2 a yard for the primary exterior front/back/gusset/connectors,
- 1/2 a yard of lining fabric, or, 1/4 yard of lining fabric and 1/4 yard of contrasting cotton fabric,
- 1/2 a yard of 40″ wide woven fusible interfacing – Wovenfuse (or 1 yard if using 20″ wide – Pellon SF101),
- One 6″ by 3 1/2″ piece of fusible fleece or quilt batting – Pellon Thermolam or cotton quilt batting,
- 1/4 yard of fusible medium weight stabilizer – Decovil Light or Pellon 809. If using a cork/vinyl/faux leather/leather exterior – use woven fusible interfacing instead of a medium weight stabilizer for the exterior stabilizer,
- Two 1″ D-rings for strap connectors,
- One turn lock, flip lock, or other closing mechanism (you can use a magnetic snap if desired),
- One shoulder strap chain – generally 40-44″ length works well,
- Two rivets – 9mm cap by 8mm shank – optional as decoration/added strength on strap connectors,
- One 8″ long (at least) dress size #3 zipper,
- Basic sewing supplies,
- A sewing machine.

Besides having a written tutorial available the designer, Daywalker Customs Embroidery has made a video tutorial, showing you step-by-step how to make her lovely handbag. If you want to watch that video then please make sure that at the time you purchase the pattern that you select the option for both pattern and video.
If you would like to download the pattern you can click on the blue button below.


