Printable Stitching Practice Sheets for beginners
[ssba-buttons]
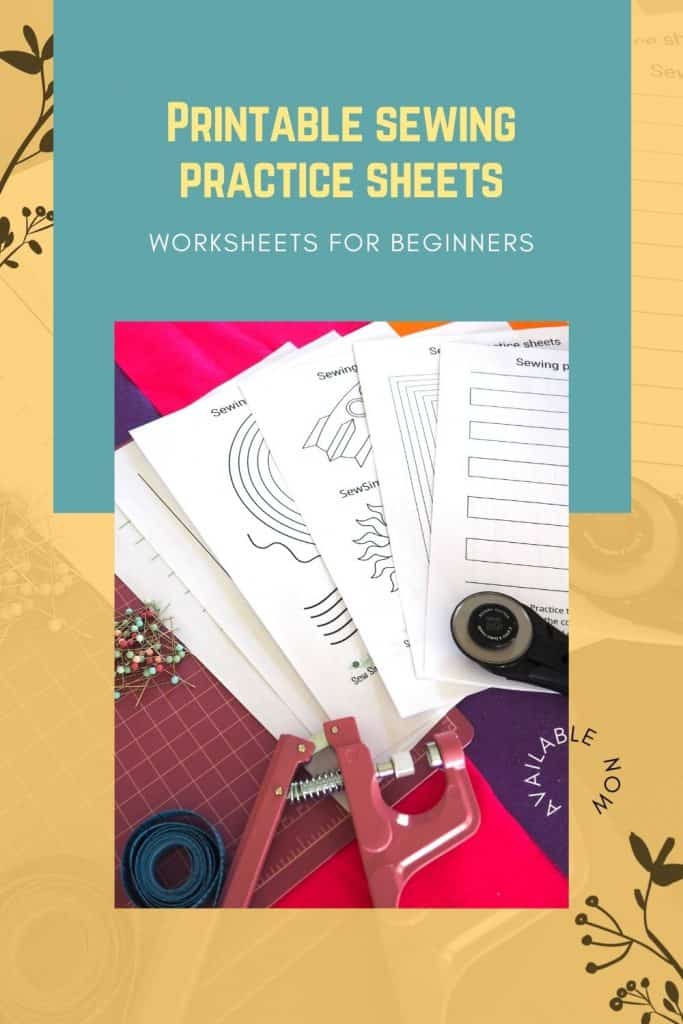
Sewing practice sheets, printable sewing sheets for beginners to practice stitching and sewing. No thread required, sew on your machine to punch holes in the paper!
These printable sewing practice sheets have been designed by Deby of Sew Simple Bags with the total beginner in mind. I don’t know about you, but I remember when I first started out sewing, I found it difficult to even sew a straight line. I thought I was doing just fine, but then I’d take my work from the machine and see the line I had stitched was wavy and uneven. Somehow I thought the machine would naturally take the fabric through in a straight line and I didn’t quite understand how gently guiding the fabric and keeping an even seam was so important.
But over time my sewing improved, my lines became straighter and I was able to pick up and practice new skills like turning corners. Even then, when I started I didn’t understand or even know about keeping the needle down to turn a corner and I’d end up with some strange and loose diagonal stitch at the corners of my work and it looked so messy!
It wasn’t until much later that I was teaching someone else to sew and they were having the same problems. Controlling speed using your foot is important, but also knowing where to look when you sew. Do you look at where the needle is falling? Look at where the edge of the fabric is compared to the needle or to the guides on your machine bed? Watch the presser foot? Somewhere else entirely? And does it vary depending on your project? There is so much for a new sewer to learn! So much to concentrate on all at once, no wonder the stitches don’t always fall in the right place!
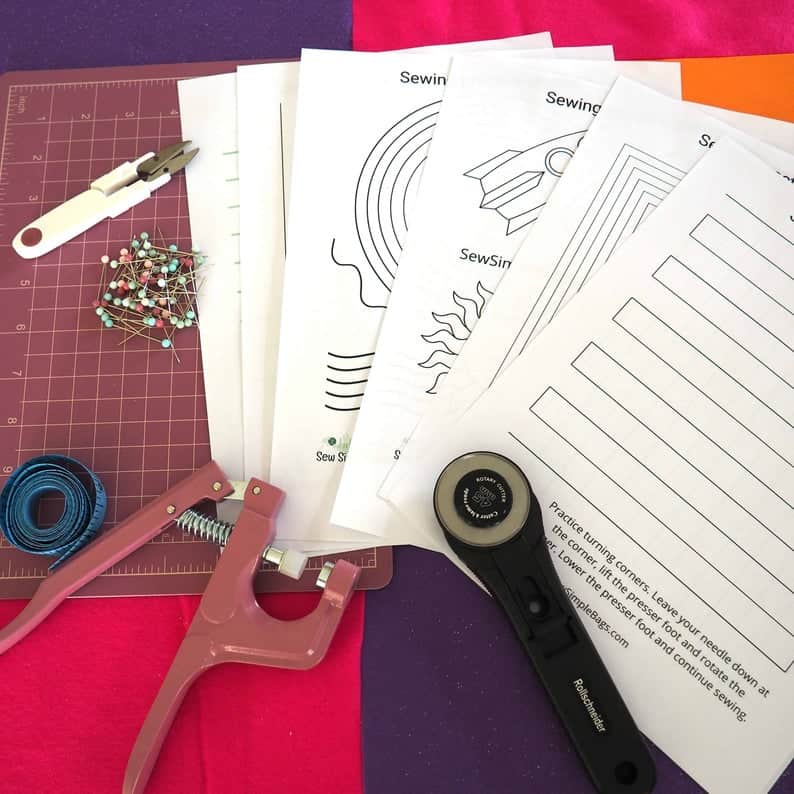
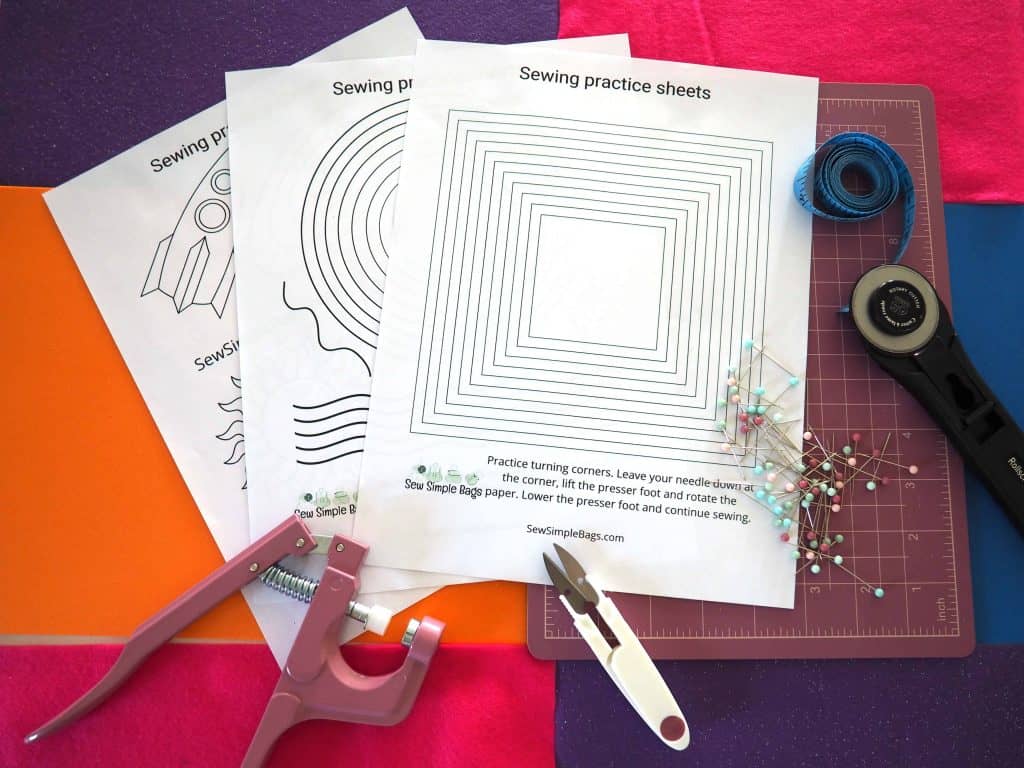
So I bought a set of simple stitching practice sheets with various lines and shapes and suddenly sewing became so much easier. For one, no need to even thread the machine! You can use these paper stitching practice pages without loading any thread into the top of your machine or winding a bobbin. As a beginner, those skills can even be taught later, once the newbie has had a chance to get to know the machine a bit better and start to ‘sew’ without the added complication yet of tension and birds-nesting thread!
There are seven different sheets in the set. They start out super-easy and each sheet can be printed out and used as many times as you like. Print the whole set or just print the pages you want.
Sheet 1 – straight stitch. Just simple rows of straight lines to follow. The paper page can be gently guided through the feed dogs and the new sewer keeps their eye on the needle, making sure that it falls on (or close to) the straight line.
It’s a great time to experiment with the different settings on the machine too, and see how setting different stitch lengths work. It will be easy for the beginner to see the holes punched in the paper for each setting and see how the holes go gradually from close together, too far apart, as the stitch length is increased.
Of course with the longer stitch length comes the greater challenge of sewing on the straight line as the paper is pulled further by the feed dogs each time, and too much speed can soon lead to stitches that are out of control! Ha ha, we’ve all been there!
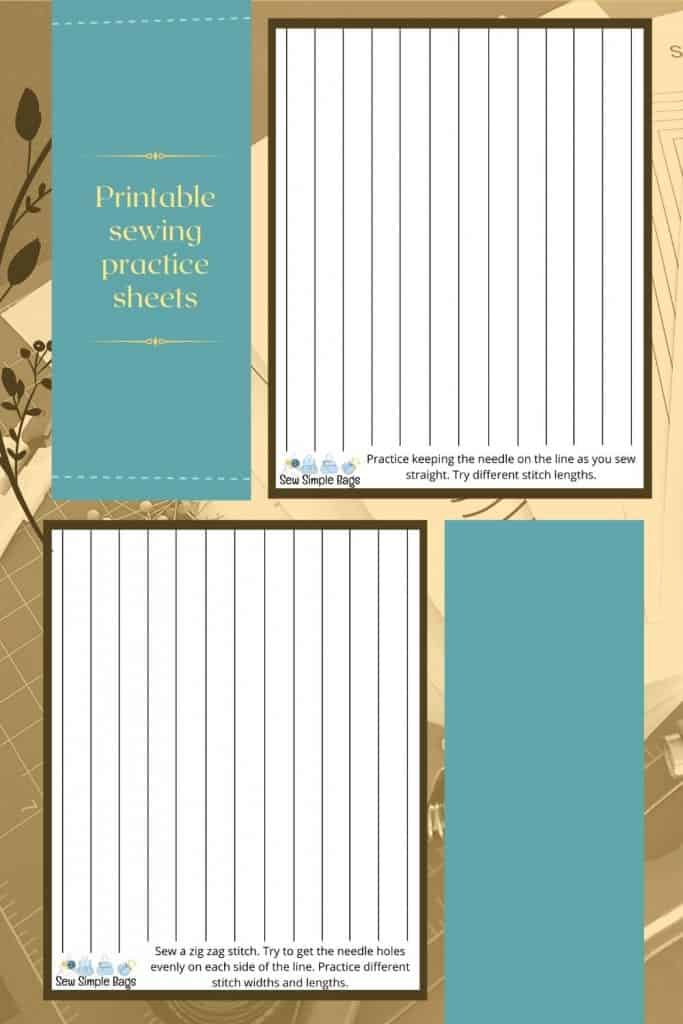
Sheet 2 – zig-zag stitch. When sewing straight the needle should hit the line, but not all stitches go straight down the middle. Sheet 2 switches the sewer from watching the needle to watching the presser foot. Keep the foot centered on the line and the needle will punch holes evenly on each side of the line as the needle moves to the left and right to form the zig-zag.
It’s a great time to practice changing the settings for different stitch lengths and widths to see how this changes the look of the zig-zag stitch.
Sheet 3 – turning corners. A single straight line with 90-degree corners so the whole page can be sewn without a break. The long straight lines give additional straight line practice, but now with added turns. The corners turn both left and right so the beginner can get practice in:
hitting the corner point by adjusting stitch left if needed
remembering to leave the needle down when pivoting
turning their work in both directions for left and right corners
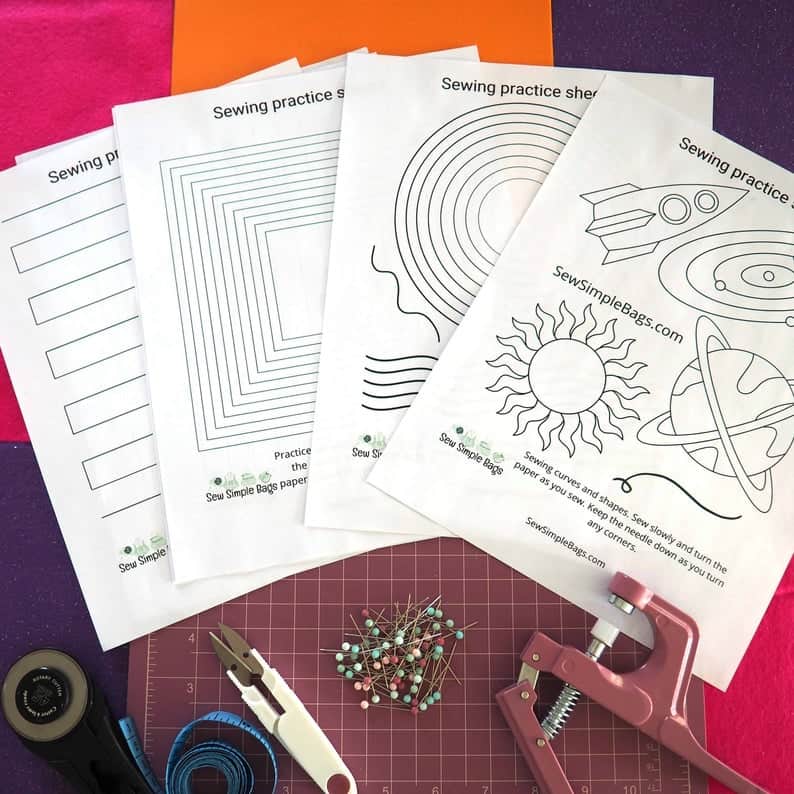
Sheet 4 – a large grid to follow like a maze. With a large grid of criss-crossing lines, the sewer can choose their own path through the grid, combining straight lines of various length with 90 degree turns in either direction. Perhaps challenge yourself to turn over the sheet at the end and make sure you’ve completed the full grid by seeing all the lines of punched holes.
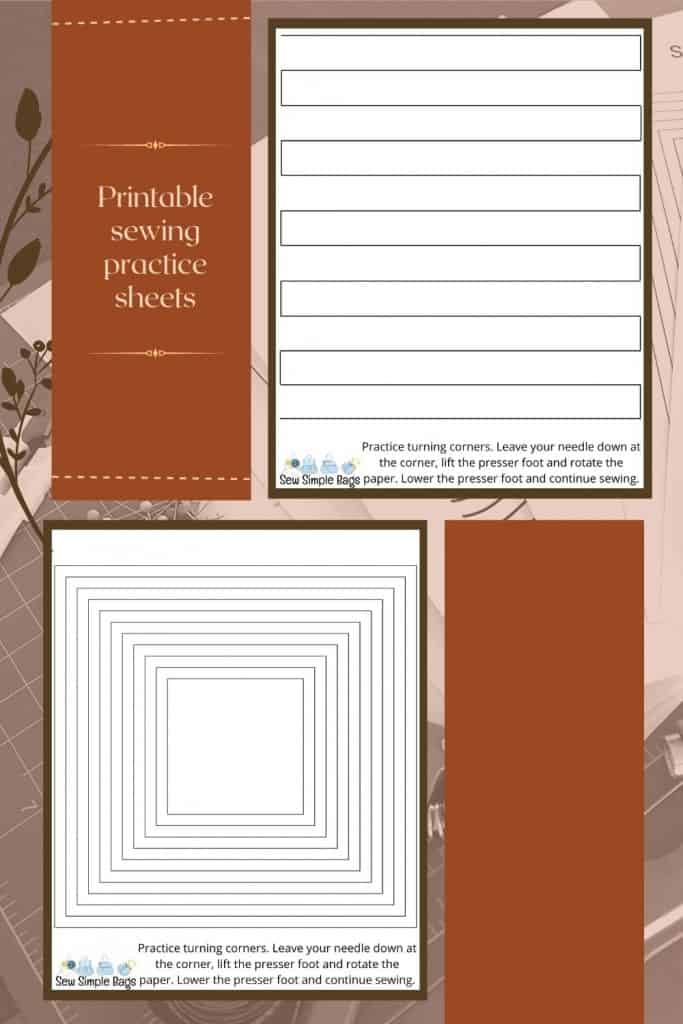
Sheet 5 – more corners and accurate sewing. This series of ever-decreasing squares are quite close together so accurate sewing is essential. Keep on the straight and narrow then more practice hitting the corner, needle down and pivoting the work. The close squares give the beginner more of a challenge to sew slowly and make sure they don’t wobble, or overrun the corner point. The sewing direction of each square can be alternated so one square needs turning to the left and the next to the right.
Sheet 6 – curved and wavy lines. Sewing a curve is always challenging because the work has to be constantly turned in a way that predicts where the needle will fall for the next stitch. Easier for short stitch lengths and more challenging for longer stitches. Use longer length stitches for the outer circles and shorten the stitch length as you sew the smaller circles.
For the wavy lines at the bottom, pick up the speed a little and try to get into a rhythm of moving the paper in tune with the stitching speed. Tight curves aren’t too commonly used in sewing, but if you plan to sew clothing, you’ll need to master this skill for armholes, sleeves and necklines.
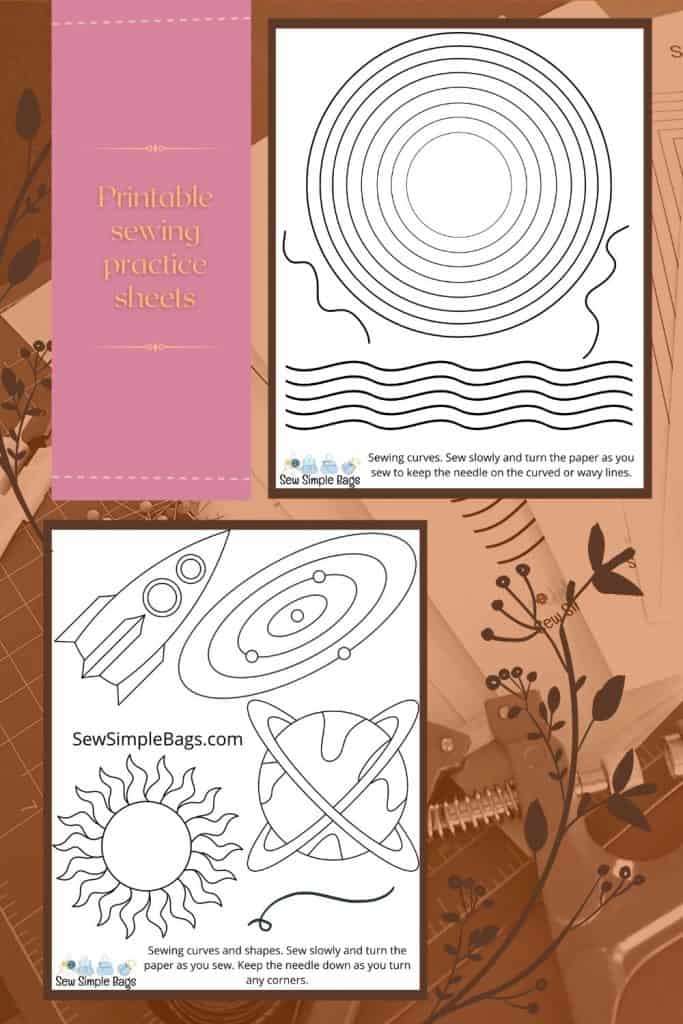
Sheet 7 – final challenge! These fun and fancy shapes are the final challenges to practice everything that’s been learned. Combining straight lines, curves, wavy lines and corners, keep your stitches on the lines for these shapes and you can claim to have well and truly mastered your sewing machine, controlled your speed and become an expert in choosing stitch length.
You’ll be able to properly control where you stitches fall, sew the proper seam allowance, turn accurate and sharp corners, create smooth curves for necklines, and pick the right stitch length and width for your project.
A recap of what’s included in the set
Practice sewing slowly and carefully and you can easily learn to sew neatly and evenly with these printable practice sheets. There are 7 different designs to choose from and you can print them all, or just the ones you want to use. Need to practice sewing in a straight line? Print several copies of sheet 1 and leave the rest until you have mastered this skill and are ready to move on to the zig-zag and beyond!
The seven different sheets comprise:
1 – straight stitch. Practice keeping your sewing straight and experiment with different stitch lengths
2 – zig-zag stitch. Keep your machine sewing straight and the needle should fall evenly on each side of the line as you zig and zag
3 – straight lines and corners. Continue with the straight line practice but also try turning neat corners in both directions
4 – a large grid for your own crazy practice. Dozens of right angle corners to sew in every direction. Like a maze for your sewing machine!
5 – ever-decreasing squares. Sew one square clockwise and the next anti-clockwise for a challenge to keep on the straight and narrow and hot the exact point on those corners
6 – fancy sewing in circles? Keep the template constantly moving and keep your eye on that needle as you sew in ever-decreasing circles. Try switching direction each time for an added challenge.
7 – finally some fun and crazy shapes that combine straight lines, corners, curves and waves for a fun final challenge


