Mini Wallet FREE sewing tutorial

[ssba-buttons]
This is a Mini Wallet FREE sewing tutorial from the designer ameroonie designs.
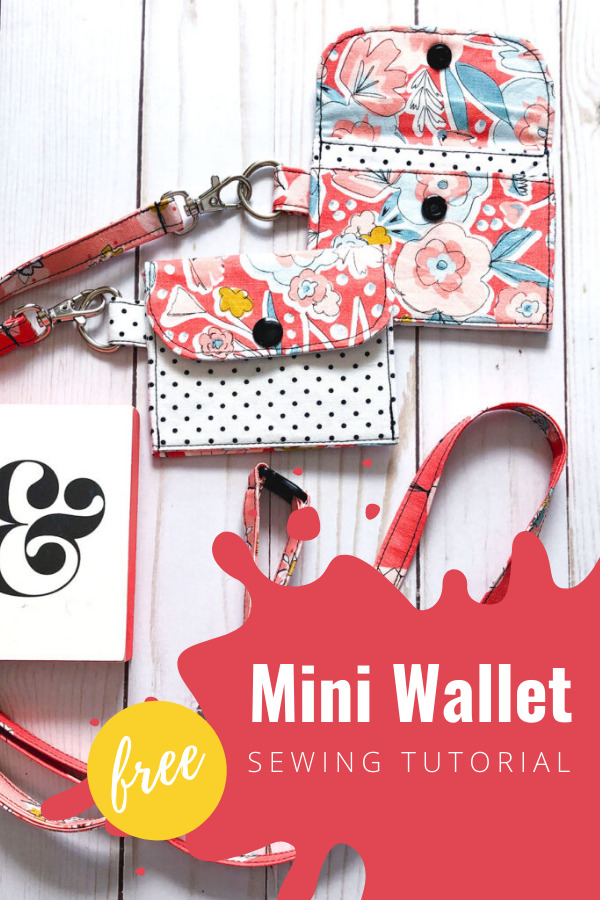
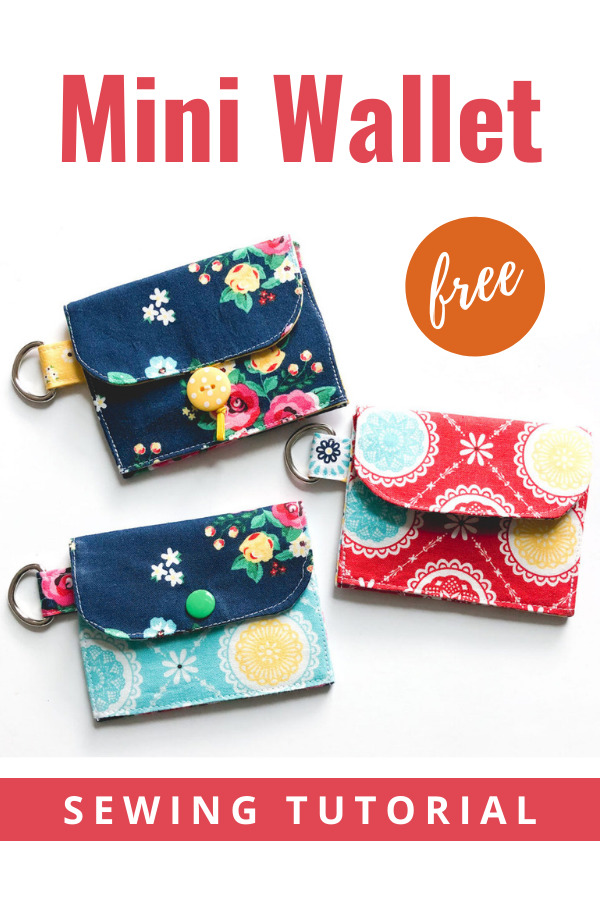
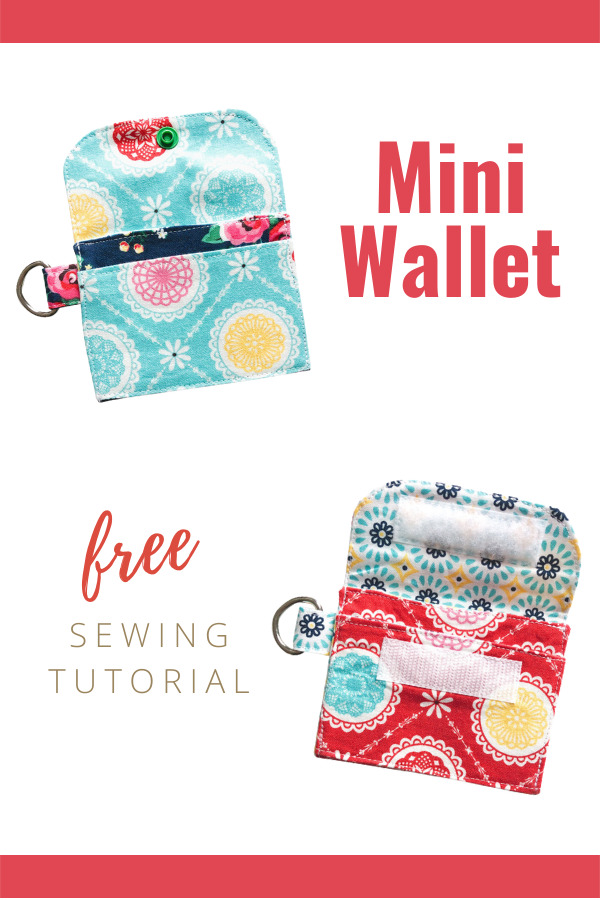
If it’s a mini wallet that you want then you have come to the right place. This Mini Wallet as its name suggests is a small size wallet. It has a D-ring to attach to a lanyard, and two pockets, one for change and one for cash.
The designer says whether you want something to throw into a larger bag, a way for kiddos to keep track of their own cash, or a small pouch to store your own cards and money this is the wallet for you.
This excellent sewing tutorial will walk you through each of the steps and includes three different closure options depending on your preferences and what you have on hand.

The designer says that you should read all the instructions before you begin to do any sewing. The instructions are for all three closure types unless specified. Seam allowances are 1/4″. The D-ring strap may be omitted if desired.
Sizing info:
When you make yourself a Mini Wallet it will measure approximately 4″ by 3″ when closed not including the D-ring and strap.
Fabric for this wallet can be prepared in one of two ways, use a rotary blade and ruler to cut the pieces OR print off the pattern and cut your pieces using the pattern. Either way, the designer recommends printing the pattern to help with rounding the corners, but if you like you can always round the corners by using a lid or other round object.

What you will need to make a Mini Wallet:-
- You will need fabric for the exterior, interior, D-ring strap (optional), and pocket,
- Medium Weight interfacing,
- One 3/4″ D-ring if desired,
- Closure of choice: a set of snaps, 2 1/2″ hook and loop tape, or 2″ length of elastic and button,
- Basic sewing supplies,
- A sewing machine.
If you would like to download the FREE pattern you can click on the purple button below.
Click here for the FREE pattern
Liking this free pattern? Great! You would make our day if you ‘bought us a coffee’ to help with the site running costs. Thank you.


