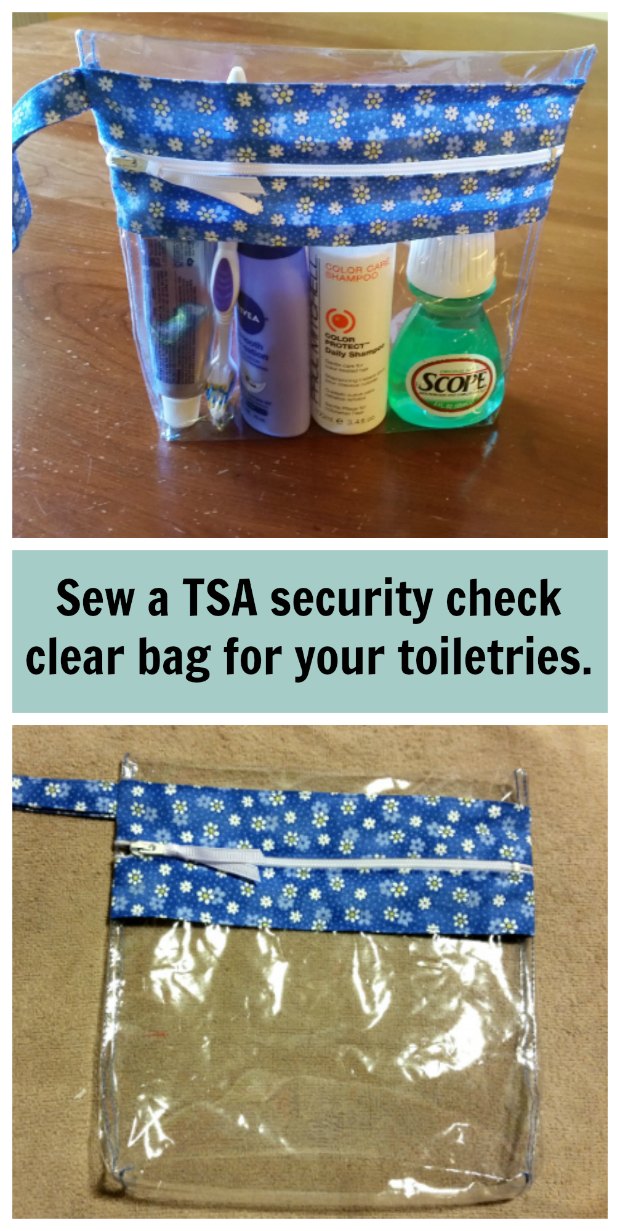
Make a TSA Screening Toiletry Bag FREE sewing tutorial

[ssba-buttons]
[NOTE – SADLY THIS PATTERN AND TUTORIAL ARE NO LONGER AVAILABLE. IT WAS LOST WHEN THE NEW CRAFTSY REMOVED ALL OF THE BLOG CONTENT FROM THEIR SITE. HOWEVER ALL IS NOT LOST – WE HAVE A HUGE ROUND UP OF ZIPPER BAGS (MORE THAN 160) AND WE’RE SURE THAT YOU WILL FIND SOMETHING YOU WILL LOVE INSTEAD HERE-> ]
Planning a vacation soon? After all it’s the season for a much-needed trip whether it’s just a weekend getaway or a trip abroad. In either case, everyone needs a bag to carry things while away from home.
A popular purchase before trips is a quart-sized bag packed with 3.4 oz. bottles to get past the TSA screening at the airport. Sure, a Ziploc bag does the trick just fine, but if you have an hour to spare you can easily make one that is far more durable.
This article on the Craftsy blog includes tips for working with clear vinyl too. Some of the comments mention how the raw edges of the fabric can be seen through the clear vinyl so you might want to just neaten them if that matters to you. After all, it’s not supposed to be a work of art, just a wipeable bag to take a few small bottles through airport security. Take a look and see what you think!
What you will need to make a TSA Screening Toiletry Bag:-
- Enough fabric to cut two strips 2” by 9” long to frame the zipper and one strip that is 2” by 11” long for the wrist strap,
- One 7” regular nylon zipper,
- A piece of plastic sheeting measuring 9” by 15”,
- Basic sewing supplies,
- A sewing machine.
Liking this free pattern? Great! You would make our day if you ‘bought us a coffee’ to help with the site running costs. Thank you.


