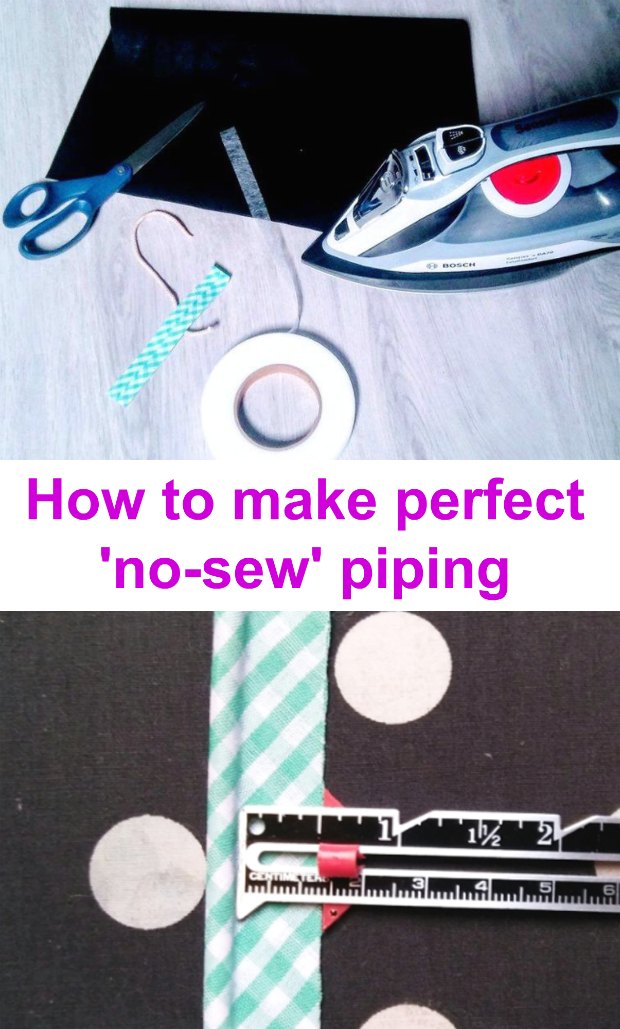
How to make no-sew piping

[UPDATE – we regret that this tutorial was removed as part of the Big Craftsy Pattern Purge in December 2018. We have contacted the original writer of the downloadable tutorial but she doesn’t have plans to make it available elsewhere. Instead, we have sourced and added a new video to this article. It’s not quite the same as the original, because Anne had used iron-on adhesive, but the result is the same.]
In this tutorial, Anne from Serial Bag Makers explains how to make ‘no-sew’ piping. Adding piping to your bags also adds a certain – je ne sais quoi, as well as adding strength, shape and stability. For a lot of people, sewing with piping is something they have on their wishlist but are afraid to tackle. In truth, it can be a little fiddly.
You can buy premade piping or you can make your own. Making your own gives you a lot more options in terms of size and fabric choice. But with both of these, you still will see the stitches when your sewing is not absolutely perfect.
Deep joy, because with this no-sew piping technique, even if your final work is not ideal, you will not see any stitches, since there will be no stitches to see! If you’re new to piping or struggle with it, this tutorial will help you create some beautiful piping with little fuss.
Recommended for this tutorial
- Steam iron
- Clover Fusible Web Tape 10mm
- Clover 5 in 1 Sliding Seam Gauge
- piping cord


