DIY Insulated Lunch Bag FREE sewing tutorial (with video)

[ssba-buttons]
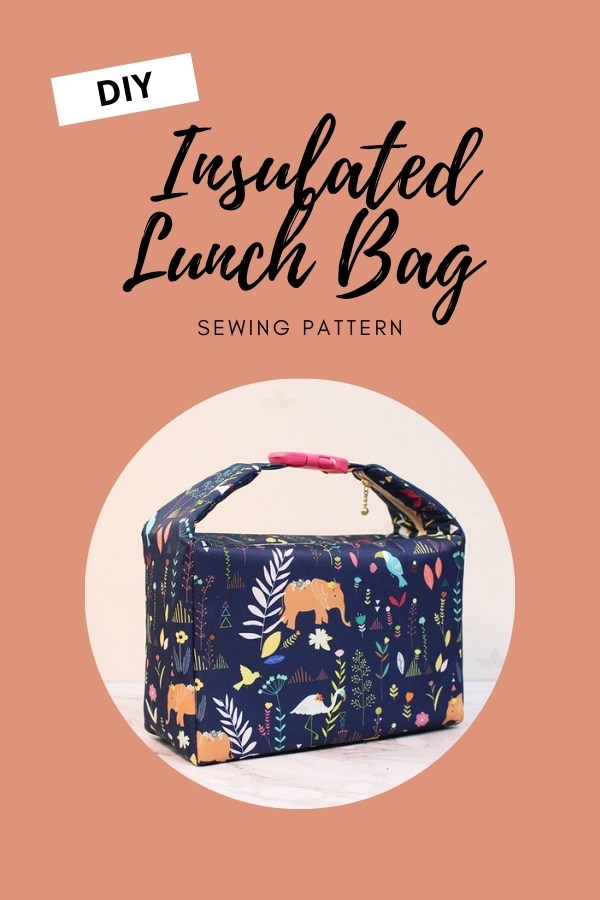
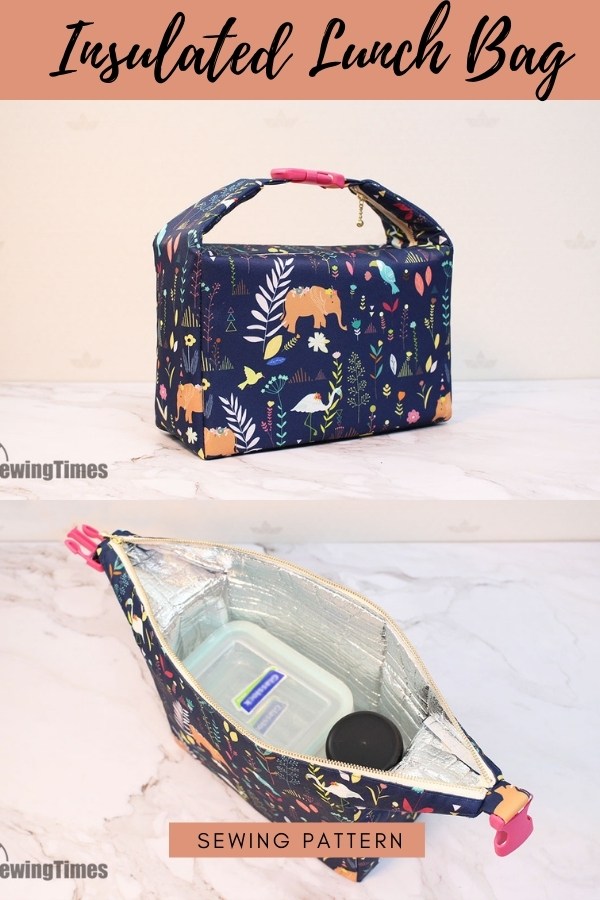
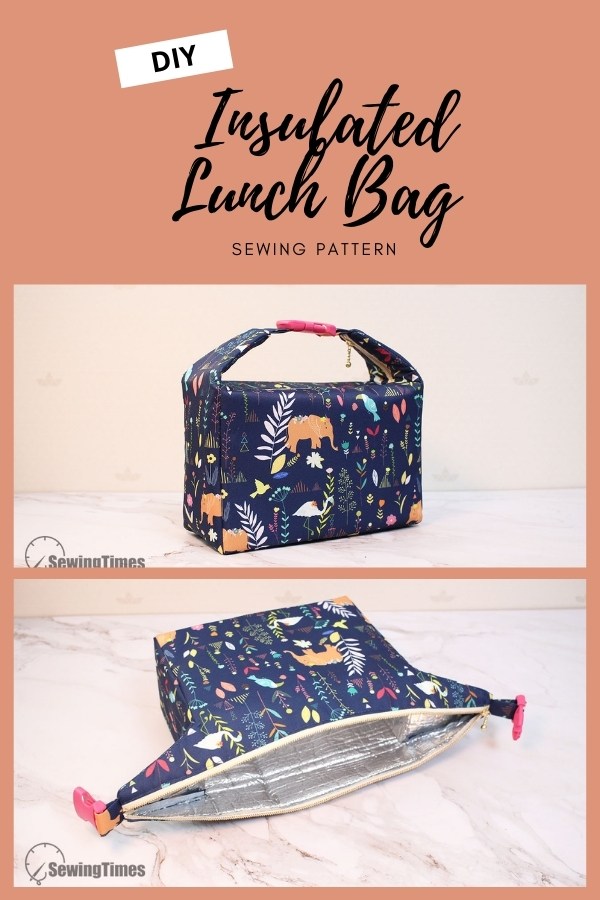
Do you want to make yourself an insulated lunch box? Where here we have a fabulous DIY Insulated Lunch Bag sewing pattern. And what’s even better it comes with a video tutorial and everything is FREE. You cannot get better than that!
The designer, SewingTimes, says that this lunch bag is perfect for carrying food & drinks to school, work, and day trips. The insulated interior layers help keep your foods cold.
This lunch tote features a zip-top closure and a handle with clip buckle closure that opens nice and wide for easy access.
The FREE YouTube video sewing tutorial that lasts for 13-minutes can be viewed below.
Sizing info:
When you have finished making yourself one of these DIY Insulated Lunch Bags it will measure approximately 9″ (22.5 cm) wide by 6″ (15 cm) high by 4″ (10 cm) deep.

What you will need to make a DIY Insulated Lunch Bag:-
- The outer layer (Waterproof fabric). Two pieces measuring 16½″ (42 cm) by 8½″ (21.5 cm), and one-piece measuring 27½″ &72 cm) by 4½″ (12 cm).
- The lining (Thermal insulation fabric – we recommend InsulBright). Two pieces measuring 16″ (40 cm) by 8⅛″ (20.5 cm), and one-piece measuring 27″ (70 cm) by 4½″ (12 cm).
- One 16″ (40 cm) zipper.

Please note – there is NO SEWING PATTERN DOWNLOAD for this project. You must cut your fabric pieces into rectangles using the measurements given in the video tutorial. We recommend using a clear quilting ruler and rotary cutter for ease and speed.
Liking this free pattern? Great! You would make our day if you ‘bought us a coffee’ to help with the site running costs. Thank you.


