Quilted Laptop Case FREE sewing tutorial
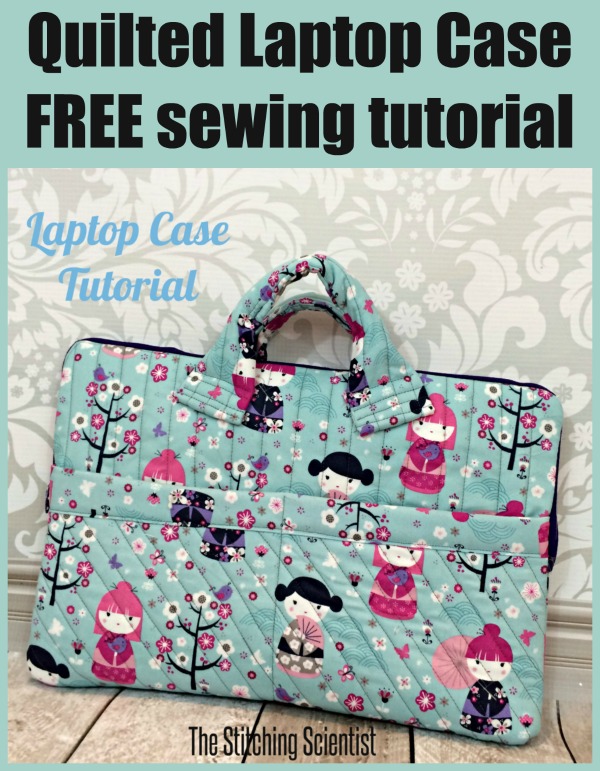


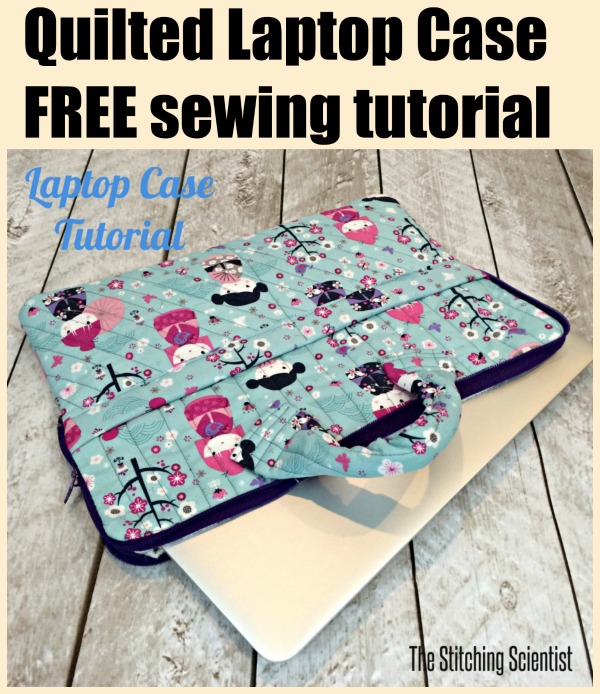
We love any bags made with quilted fabric, and this one from the Stitching Scientist is no exception. In this tutorial, which you can adapt to make it any size to suit your own laptop, you quilt fabrics of your choice before assembling the bag.
One tip – we suggest cutting your pieces slightly larger, quilting and then trimming them to size to make sure everything stays nice and square.
You’ll also like to use a serger on this one to neaten the inside edges, but you can also trim them with a bias tape on the inside of the bag too if you prefer, or a simple zig-zag stitch would also work.
To make this pretty case you will need:–
- Two pieces of main fabric – dimensions of the front of laptop plus 2″,
- Two pieces of lining fabric of laptop dimensions,
- Two pieces of fleece interfacing of laptop dimensions,
- One-piece of main fabric for pocket 3″ shorter than the main,
- 3″ by 13.5″ strip for the pocket binding,
- One-piece of lining for the pocket,
- One piece of fleece interfacing for the pocket,
- One 22″ zipper,
- Two pieces 3″ by 9″ for the straps,
- Two pieces 3″ by 9″ of fleecing interfacing for the straps,
- Basic sewing supplies,
- A sewing machine.
If you would like to see the bag tutorial you can click on the orange button below.
Read the full quilted laptop bag tutorial here
Liking this free pattern? Great! You would make our day if you ‘bought us a coffee’ to help with the site running costs. Thank you.


